Picnic Cheese Board
Picnics are perfect for spring and summer! This picnic cheese board is a great way to take a date outside, whether you’re picnicking in your backyard or on a hike.

When I was young my family and I often had what we’d call a “French picnic” for lunch or dinner. The spread included a combination of meats and cheese, fresh fruit, and bread or crackers. AKA – all the ingredients we love in a cheese board that make such great picnic foods. I learned so much about cheese boards from my Plenty collaboration last fall when we created the Thanksgiving Charcuterie Board. In that post you’ll learn what to include in a cheese board, how to slice and arrange charcuterie, which order to assemble the ingredients, and how to add finishing touches to make it look bountiful and beautiful. While an artfully designed cheese board is wonderful for a home party, taking one on-the-go isn’t exactly easy! Slight shifts in travel can mean fruit and nuts spilling off the edges, and packing crackers in with the fresh foods can leave them soggy.
Enter the picnic cheese board!
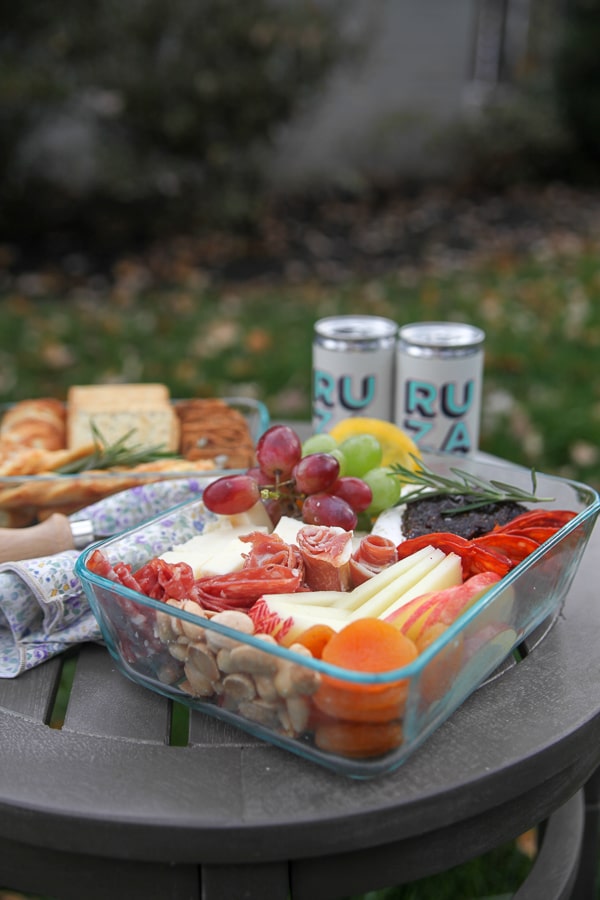
Arranged inside of a glass container, the meats and cheese board is perfectly packed for travel. With your crackers on the side, you can put both containers side by side and not worry about sogginess or shifting. Lids make both the transport there and leftovers back easy.
What You Need To Make A Picnic Cheese Board
Two glass containers
One for the main ingredients and one for the crackers. Large rectangular glass containers like these with bamboo lids are both practical and pretty.
3 kinds of cheese
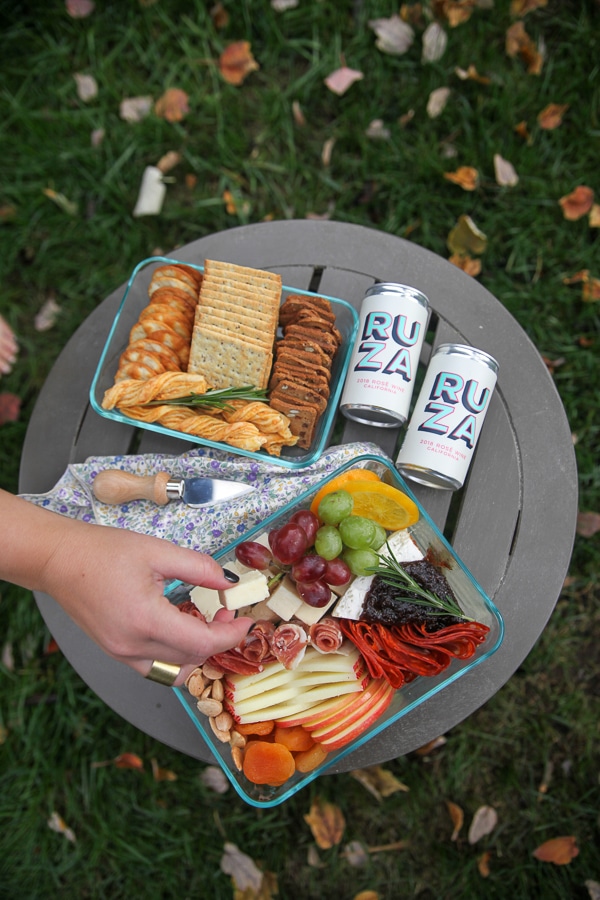
Plan your cheese depending on how many servings you need. I always think having 3 kinds is the most fun (if that is simply too much cheese, save half of each block in your fridge). Think about having a cubed cheese (like cheddar or pepperjack), a sliced cheese (like manchego or gouda), and a soft cheese (like brie or goat).
2-3 kinds of meat
The trio of Spanish meats we used for the Thanksgiving board is an ideal mix. But you can also use pepperoni and prosciutto. Use different rolling and folding methods to vary your meat’s appearance.
2 kinds of fruit, fresh and dried
Apple slices, berries, and grapes make great fresh choices. Dried oranges, cherries, and apricots are good dried fruit options.
2 kinds of nuts
Marcona almonds, smoked almonds, cashews, spiced pecans, pistachios – all good options!
Fresh herbs and some preserves for your soft cheese
These are optional but obviously take the presentation and flavors to the next level!
A mix of crackers
The choice is yours, but having at least 3 kinds of crackers will provide a variety. Like the cheeses, since you won’t need them all, leave the rest at home.
Cloth napkins, a cheese knife + cans of wine
Obviously! Canned wine is the ultimate portable wine solution.
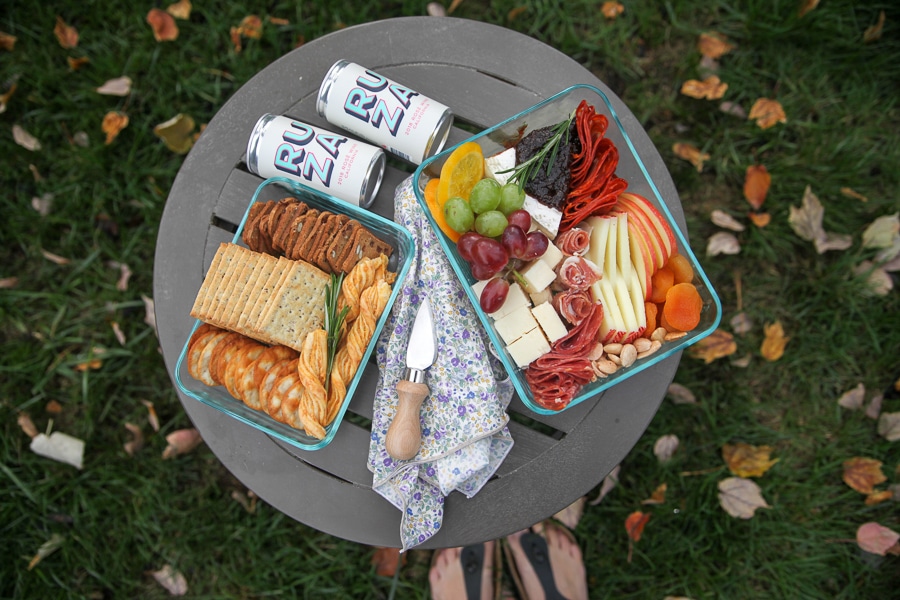
How to create a picnic cheese board
Just like with your big board, you’ll want to start with the cheeses as anchors. Come in next with meat then fruit. Save the smallest spaces for the smallest ingredients – the nuts, dried fruit, and herbs.
Since the crackers are on the side, you’ll skip that assembly step and arrange them in pretty rows in the partner container. Alternatively you can use a mix of fresh breads and crackers.
Enjoy!
Related
from Kath Eats Real Food https://ift.tt/3imh0xG


Comments
Post a Comment